Format Camera SD Card
Button Menu Formatting
This is how to format the SD card on a camera using the icons on the camera itself. This sometimes works to get the camera to recognize the SD card when a card is inserted and the camera says there is no SD card.
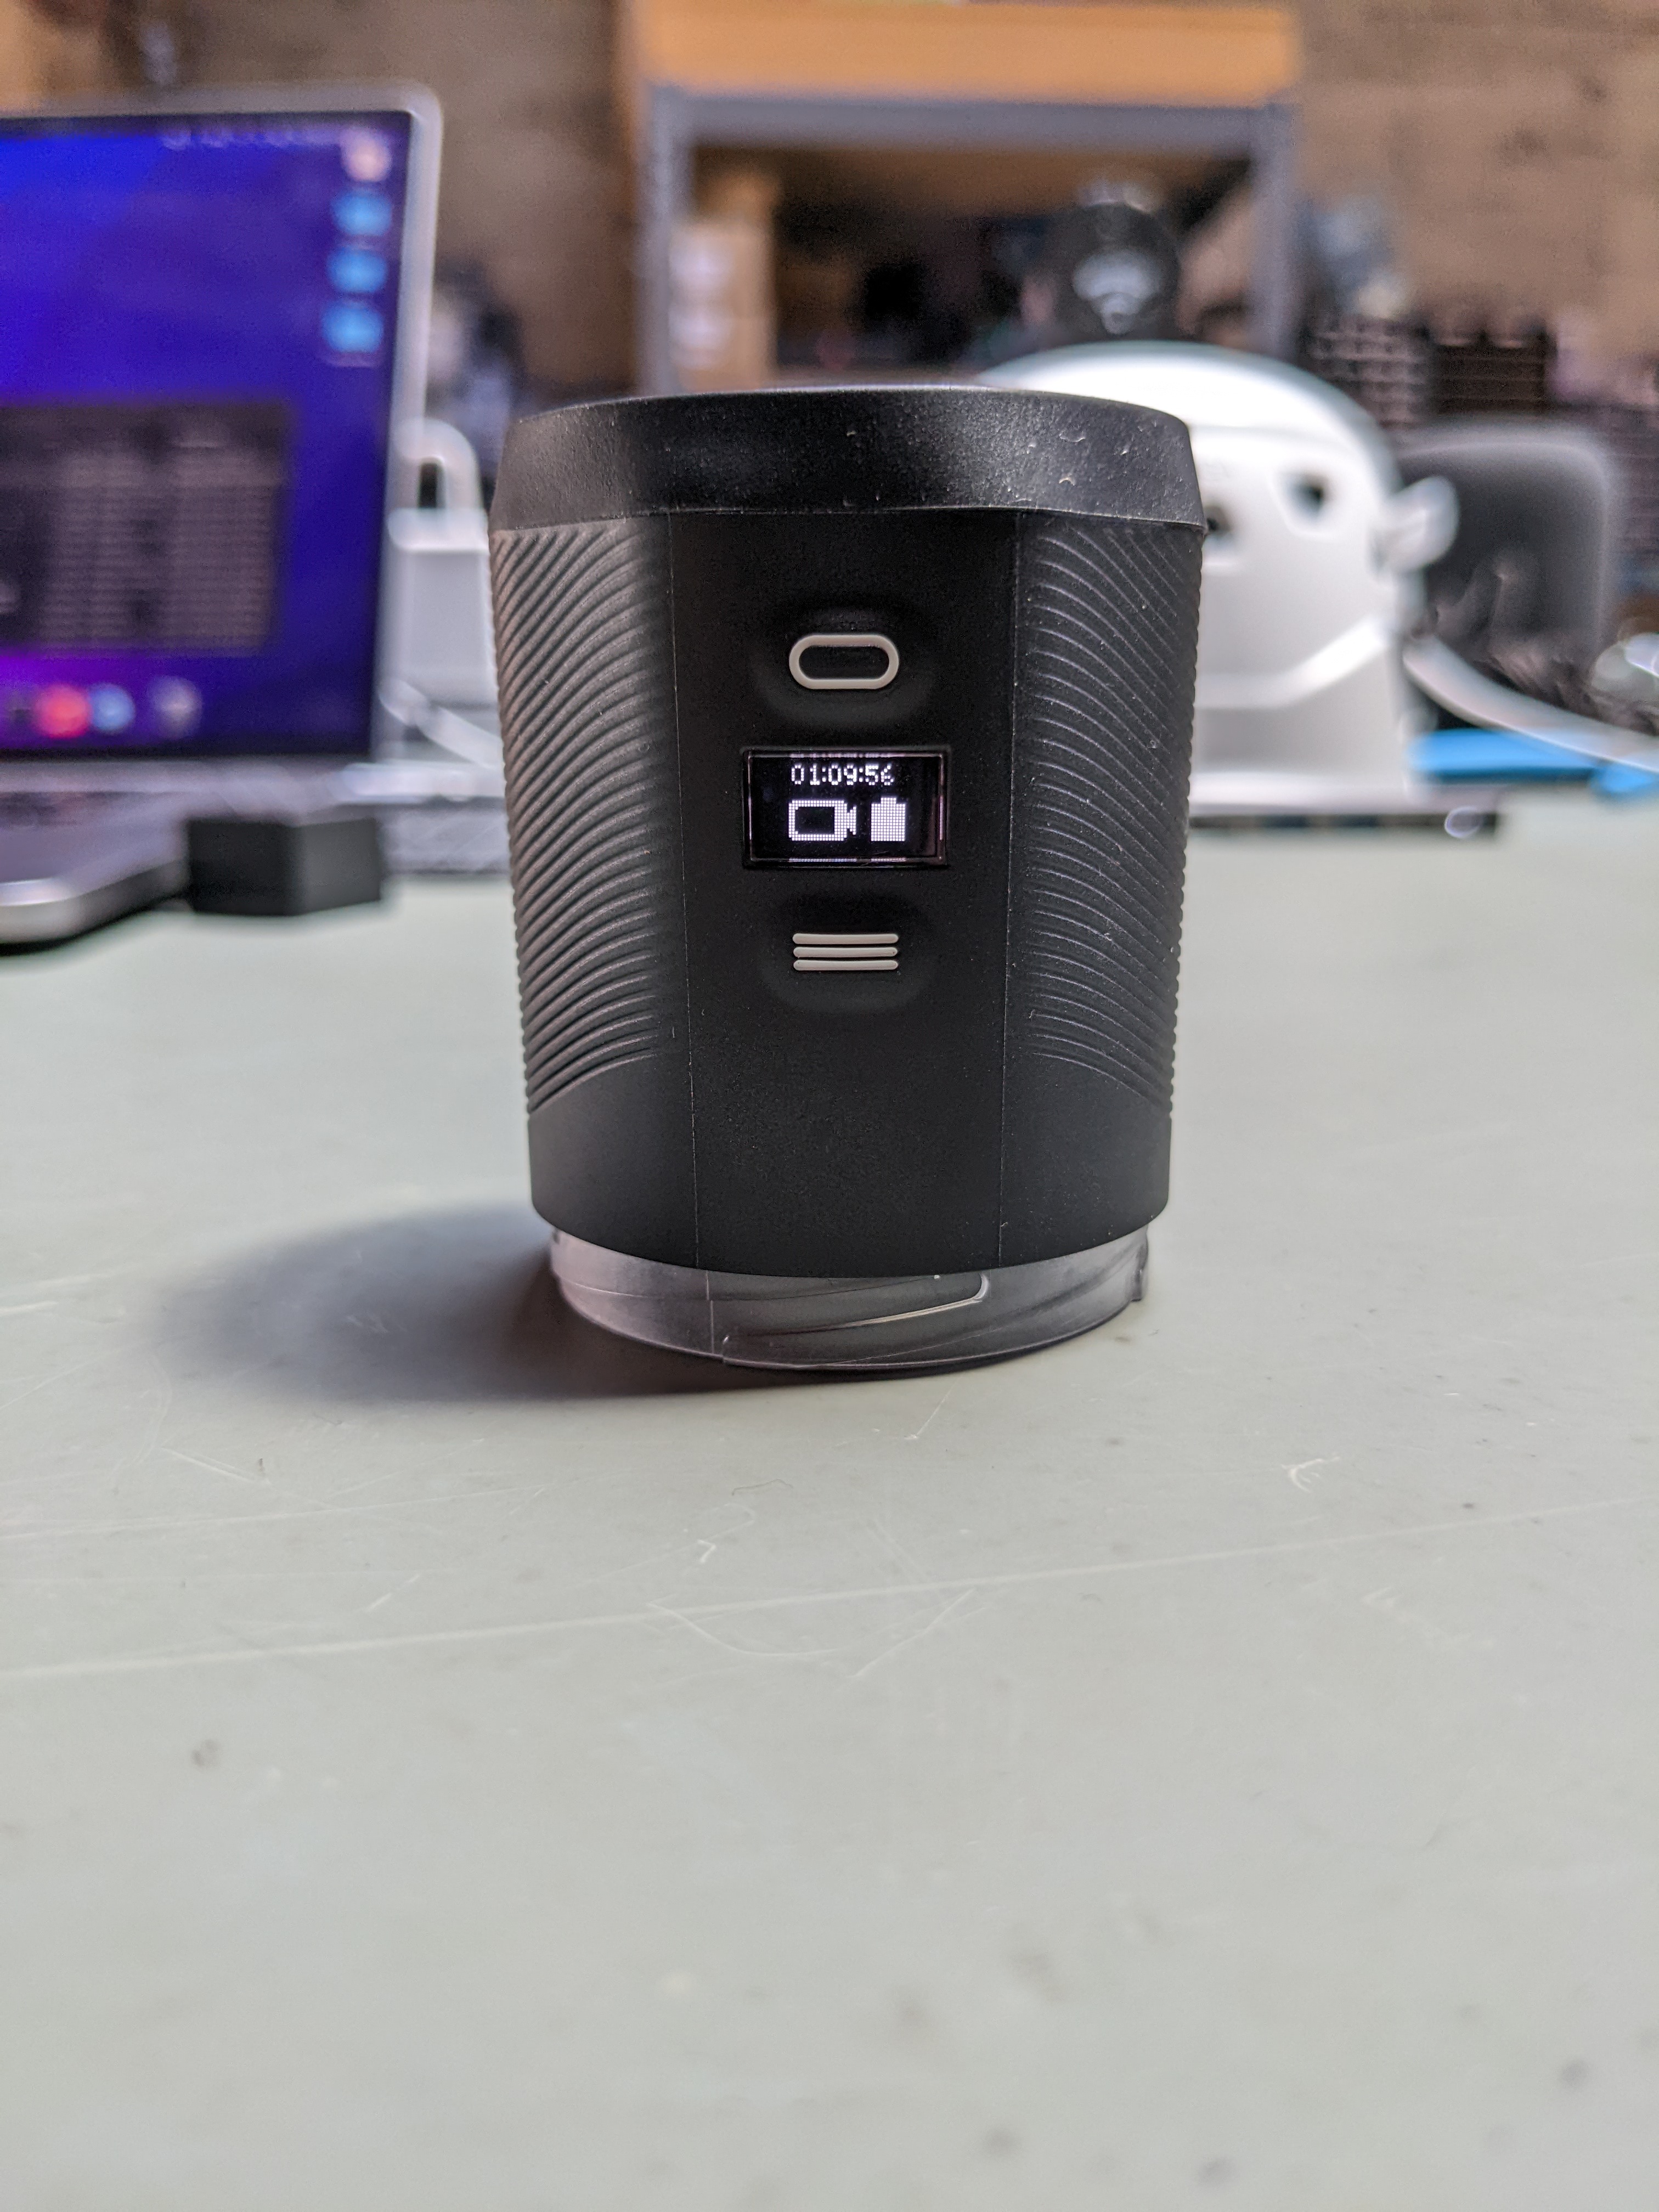
When the camera is first turned either this icon in the photo above will appear or an icon that says “SCAN RFID” will appear. Press the bottom button with the 3 horizontal lines until you get to the wrench icon in the picture below.
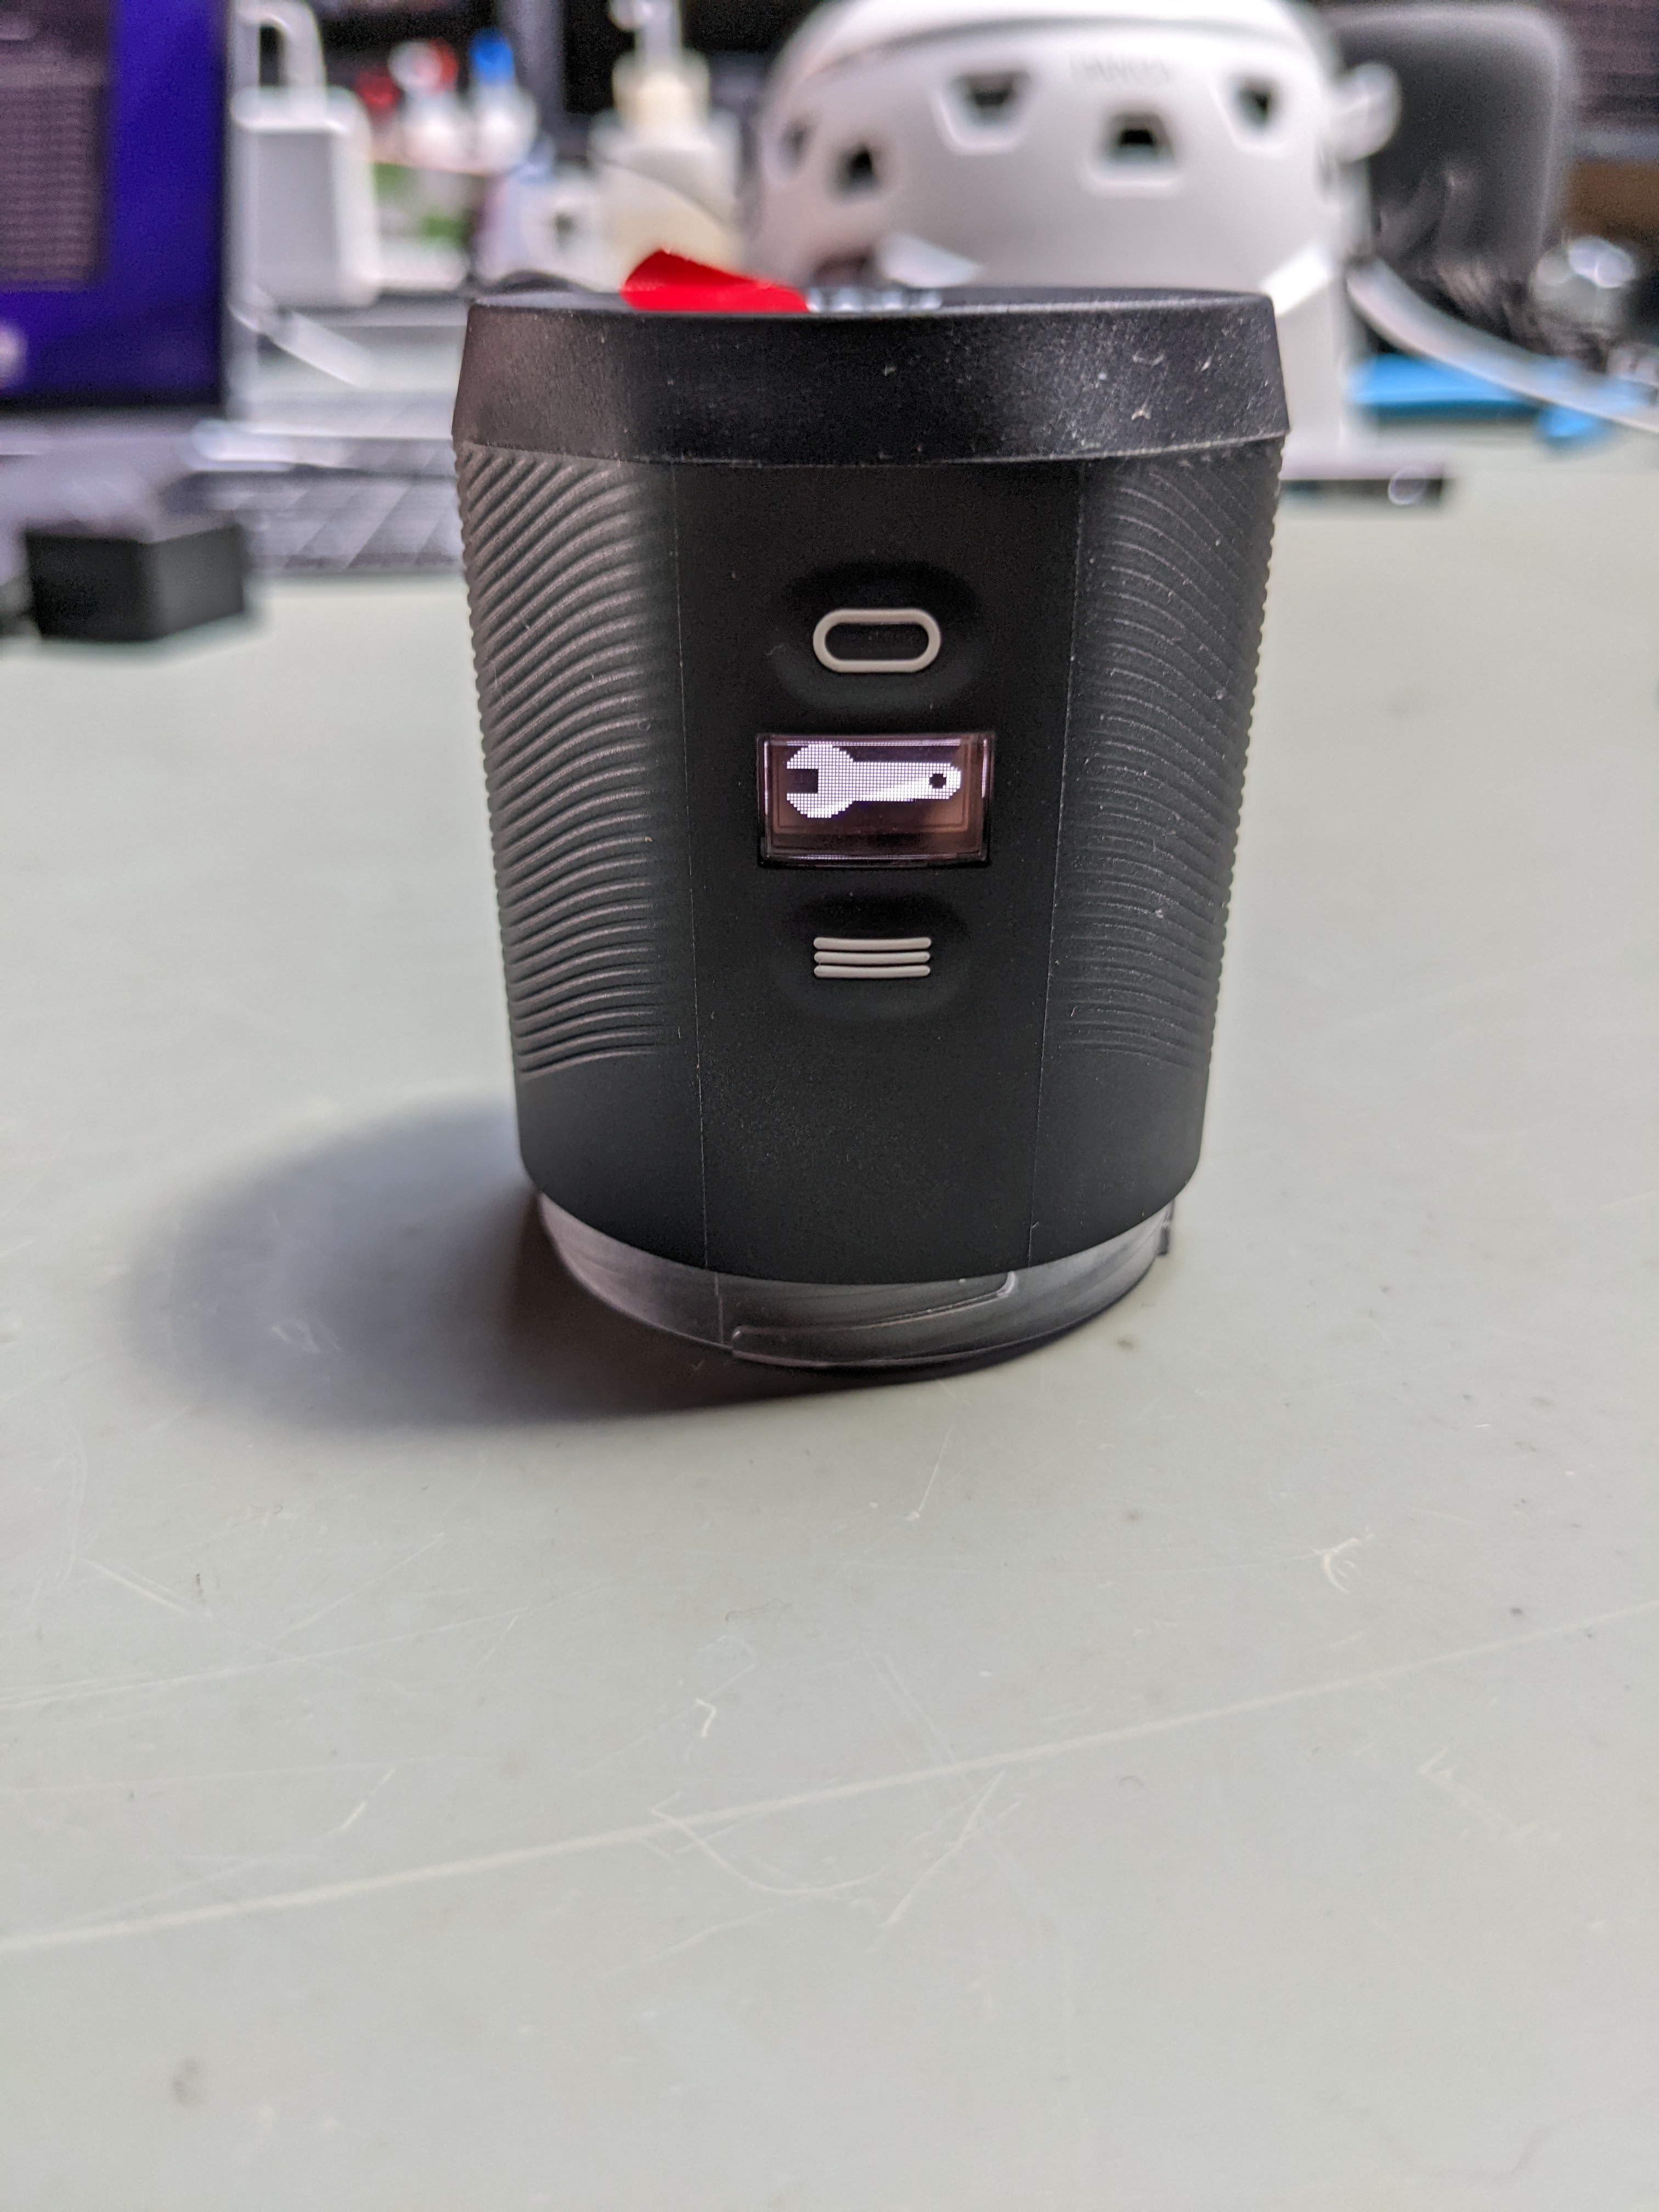
PLEASE NOTE - If the buttons are locked to stop customers interfering with the camera, hold the bottom button down until you feel a vibration. This will indicate the camera is unlocked and you will now be able to complete the step above.
After you get to this screen, you can press the top button with the oval shape. Pressing the top button will put you into the settings menu.
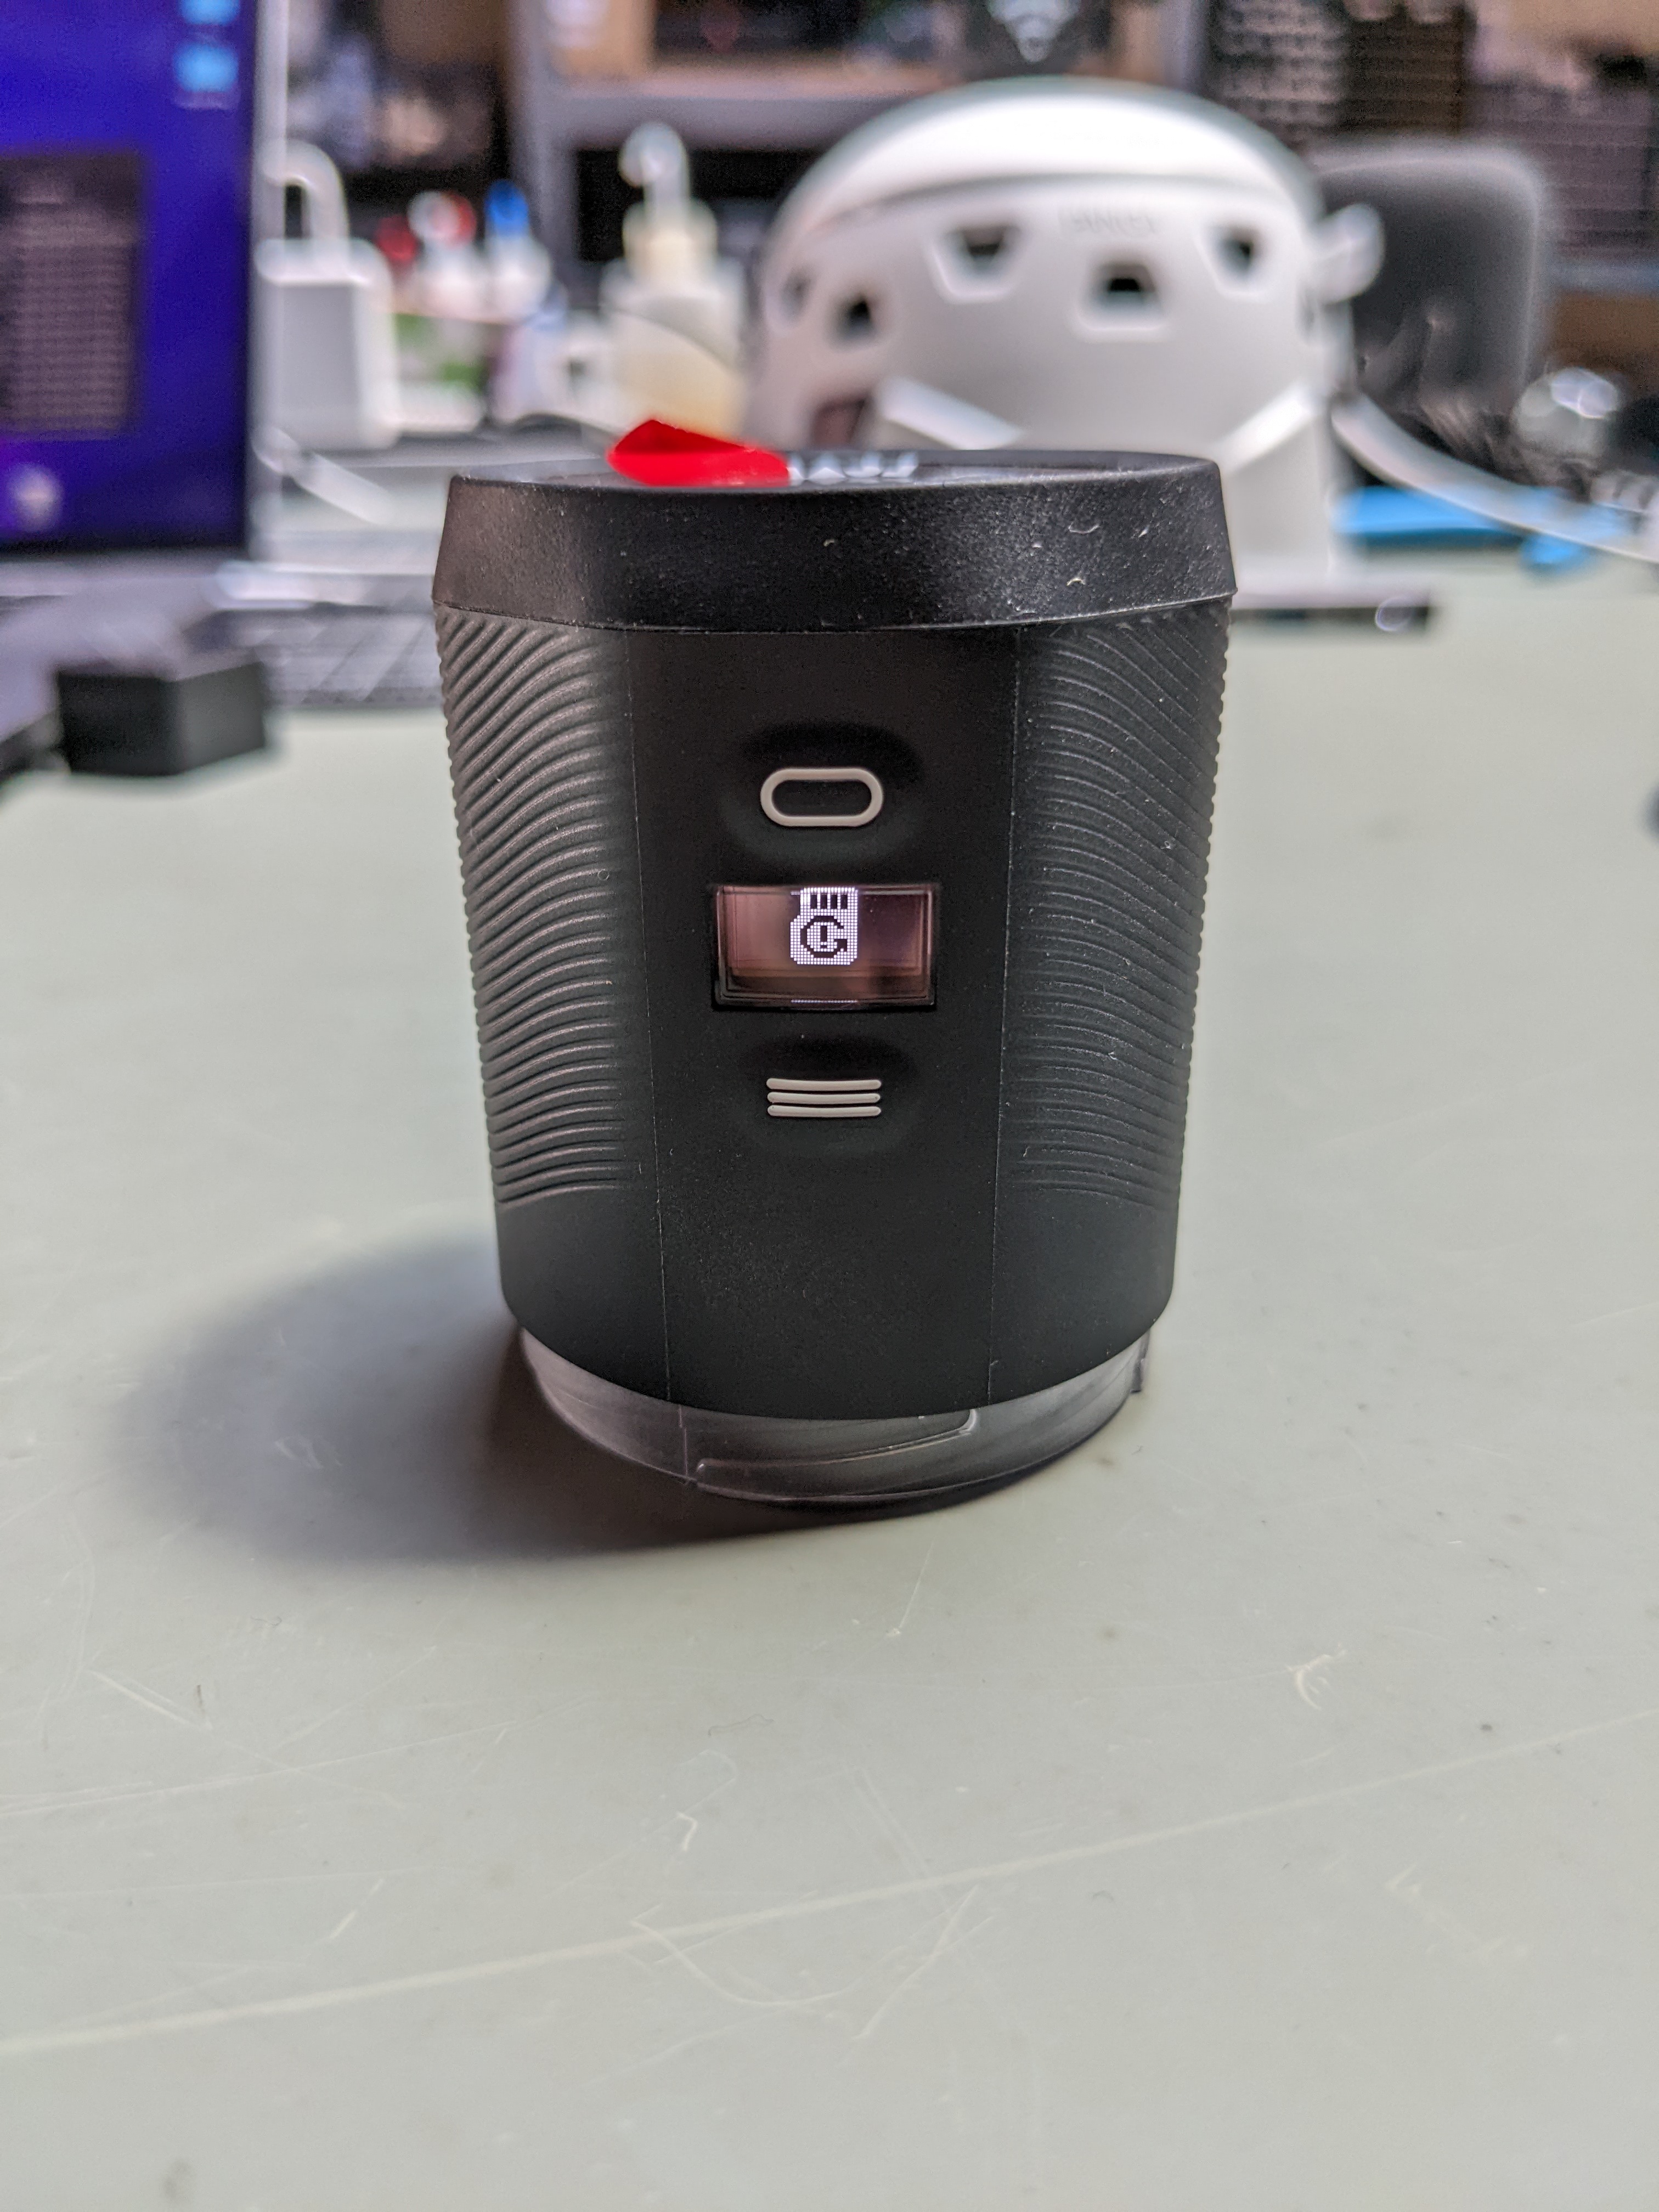
Press the bottom button with the 3 horizontal lines again until you get to the format SD card icon. You can continue to press the bottom button if you go past it, it will loop all the icons until one is selected.
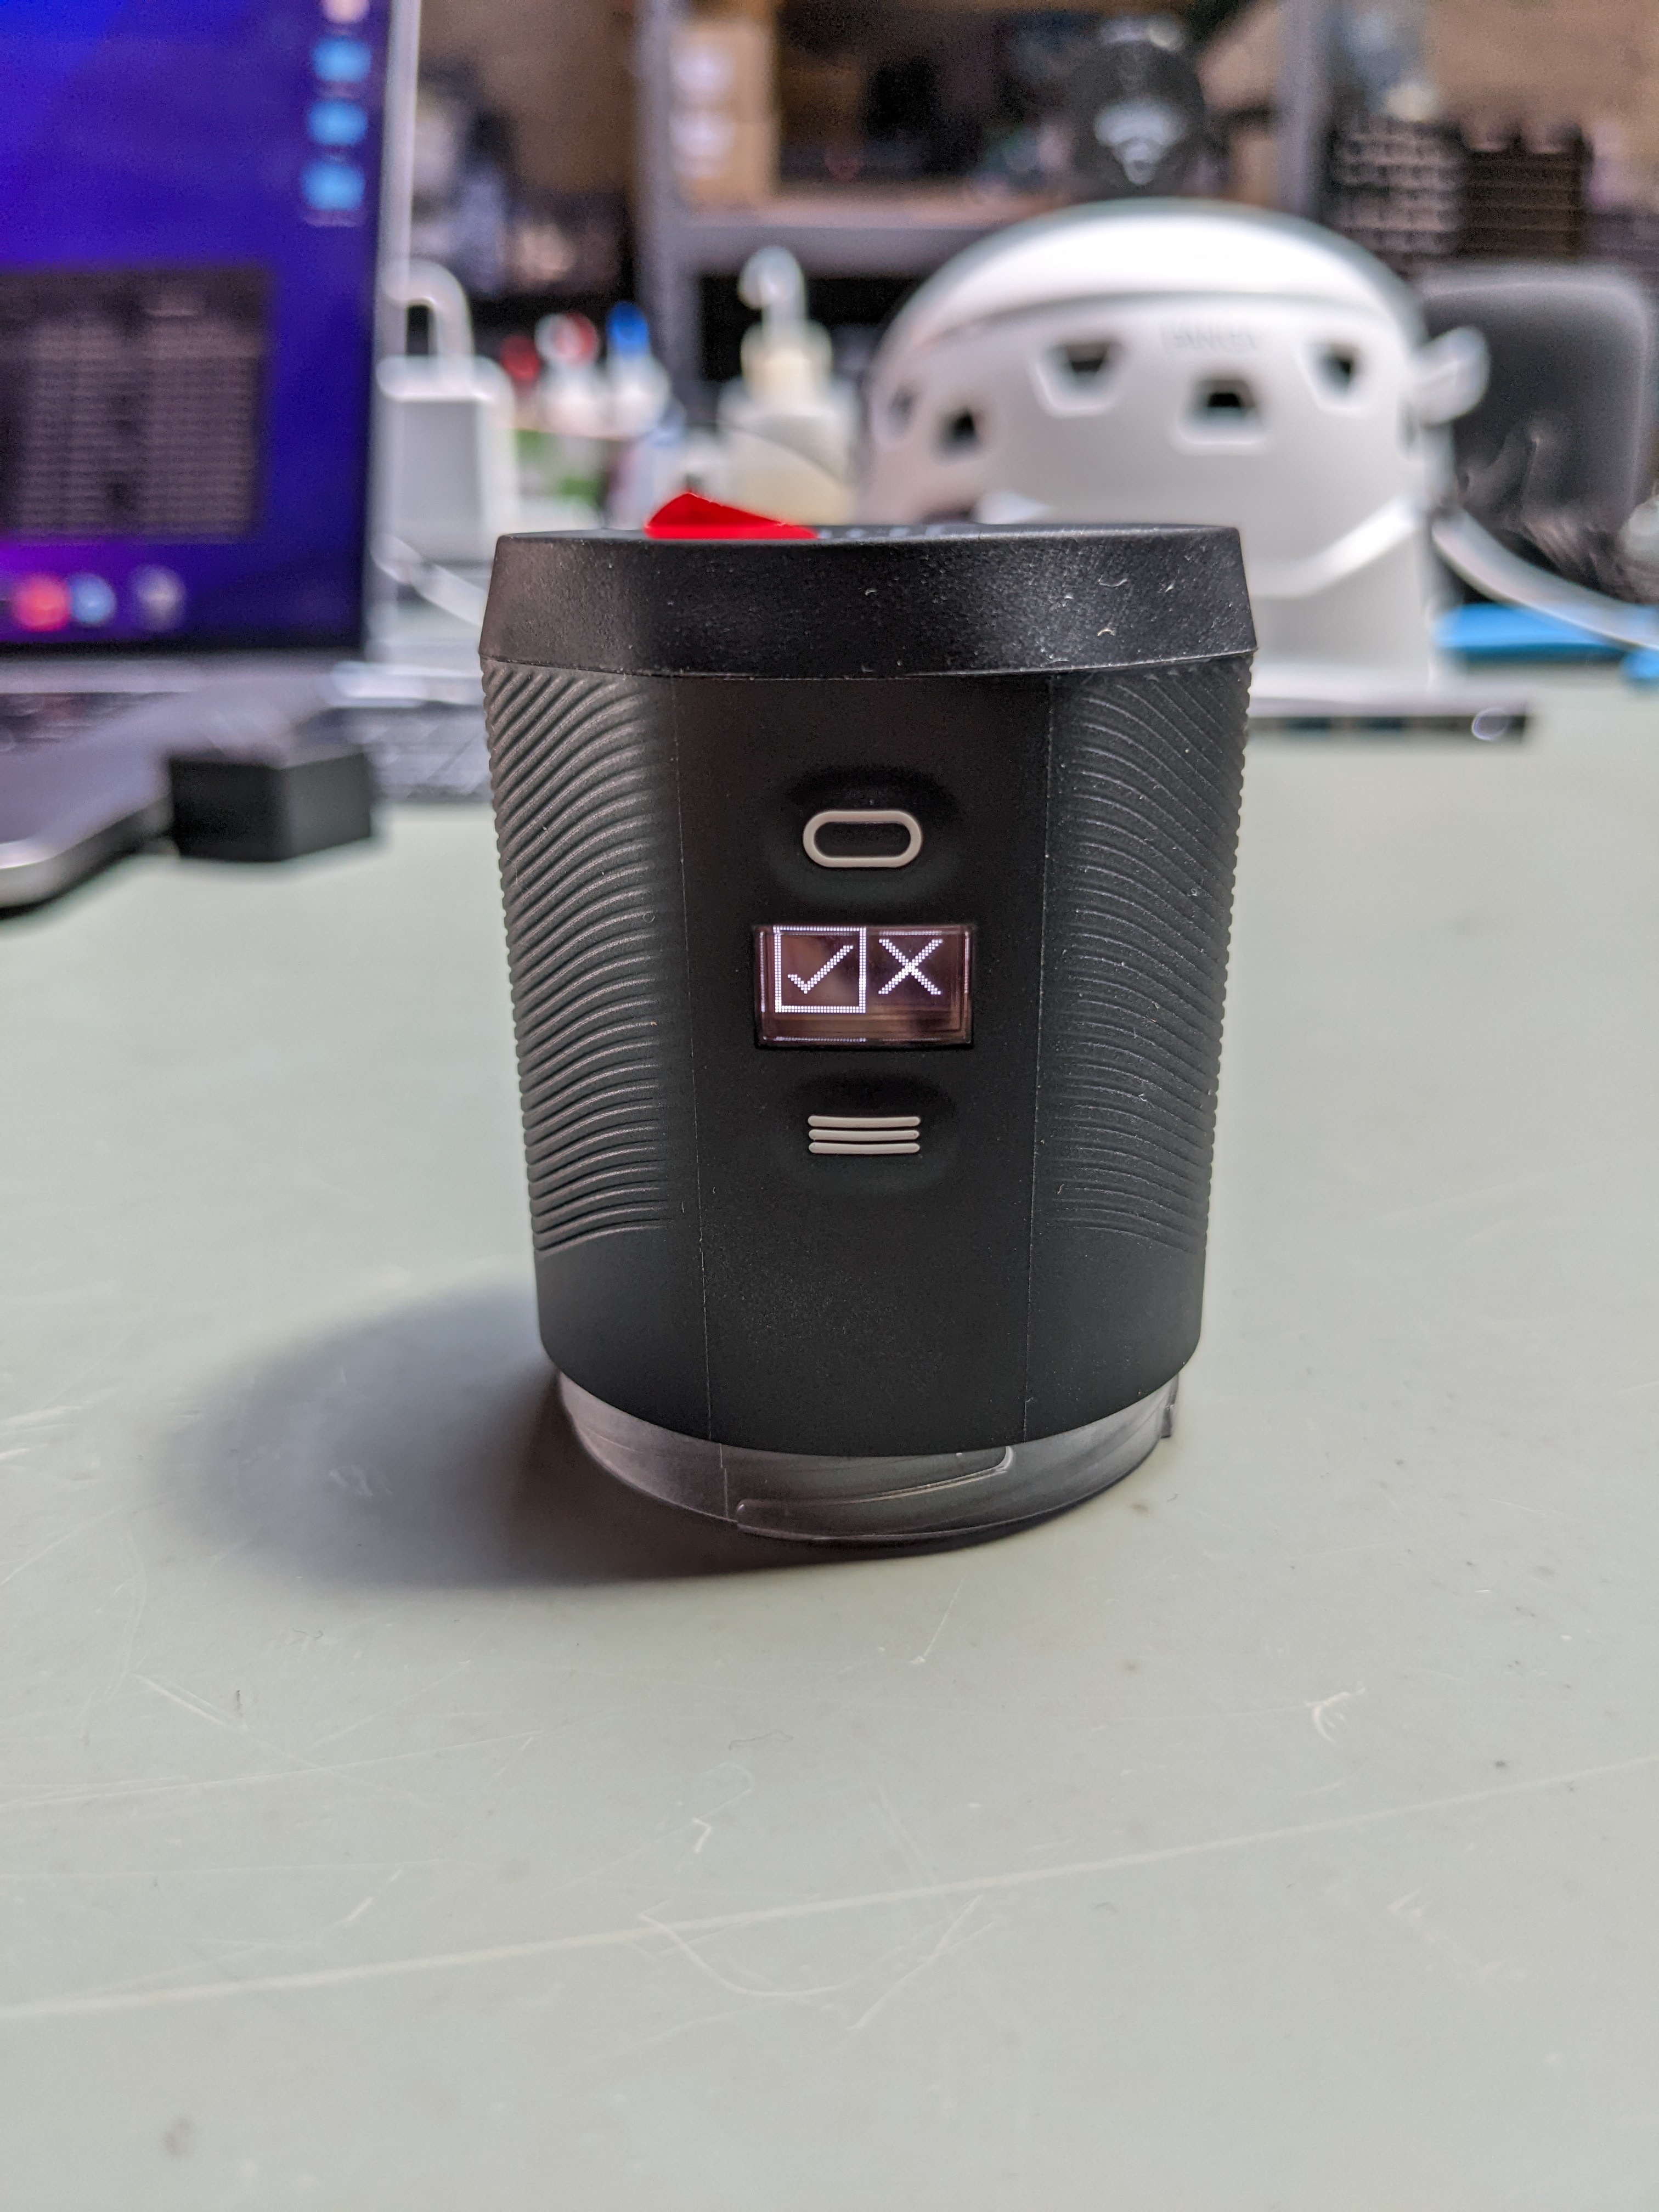
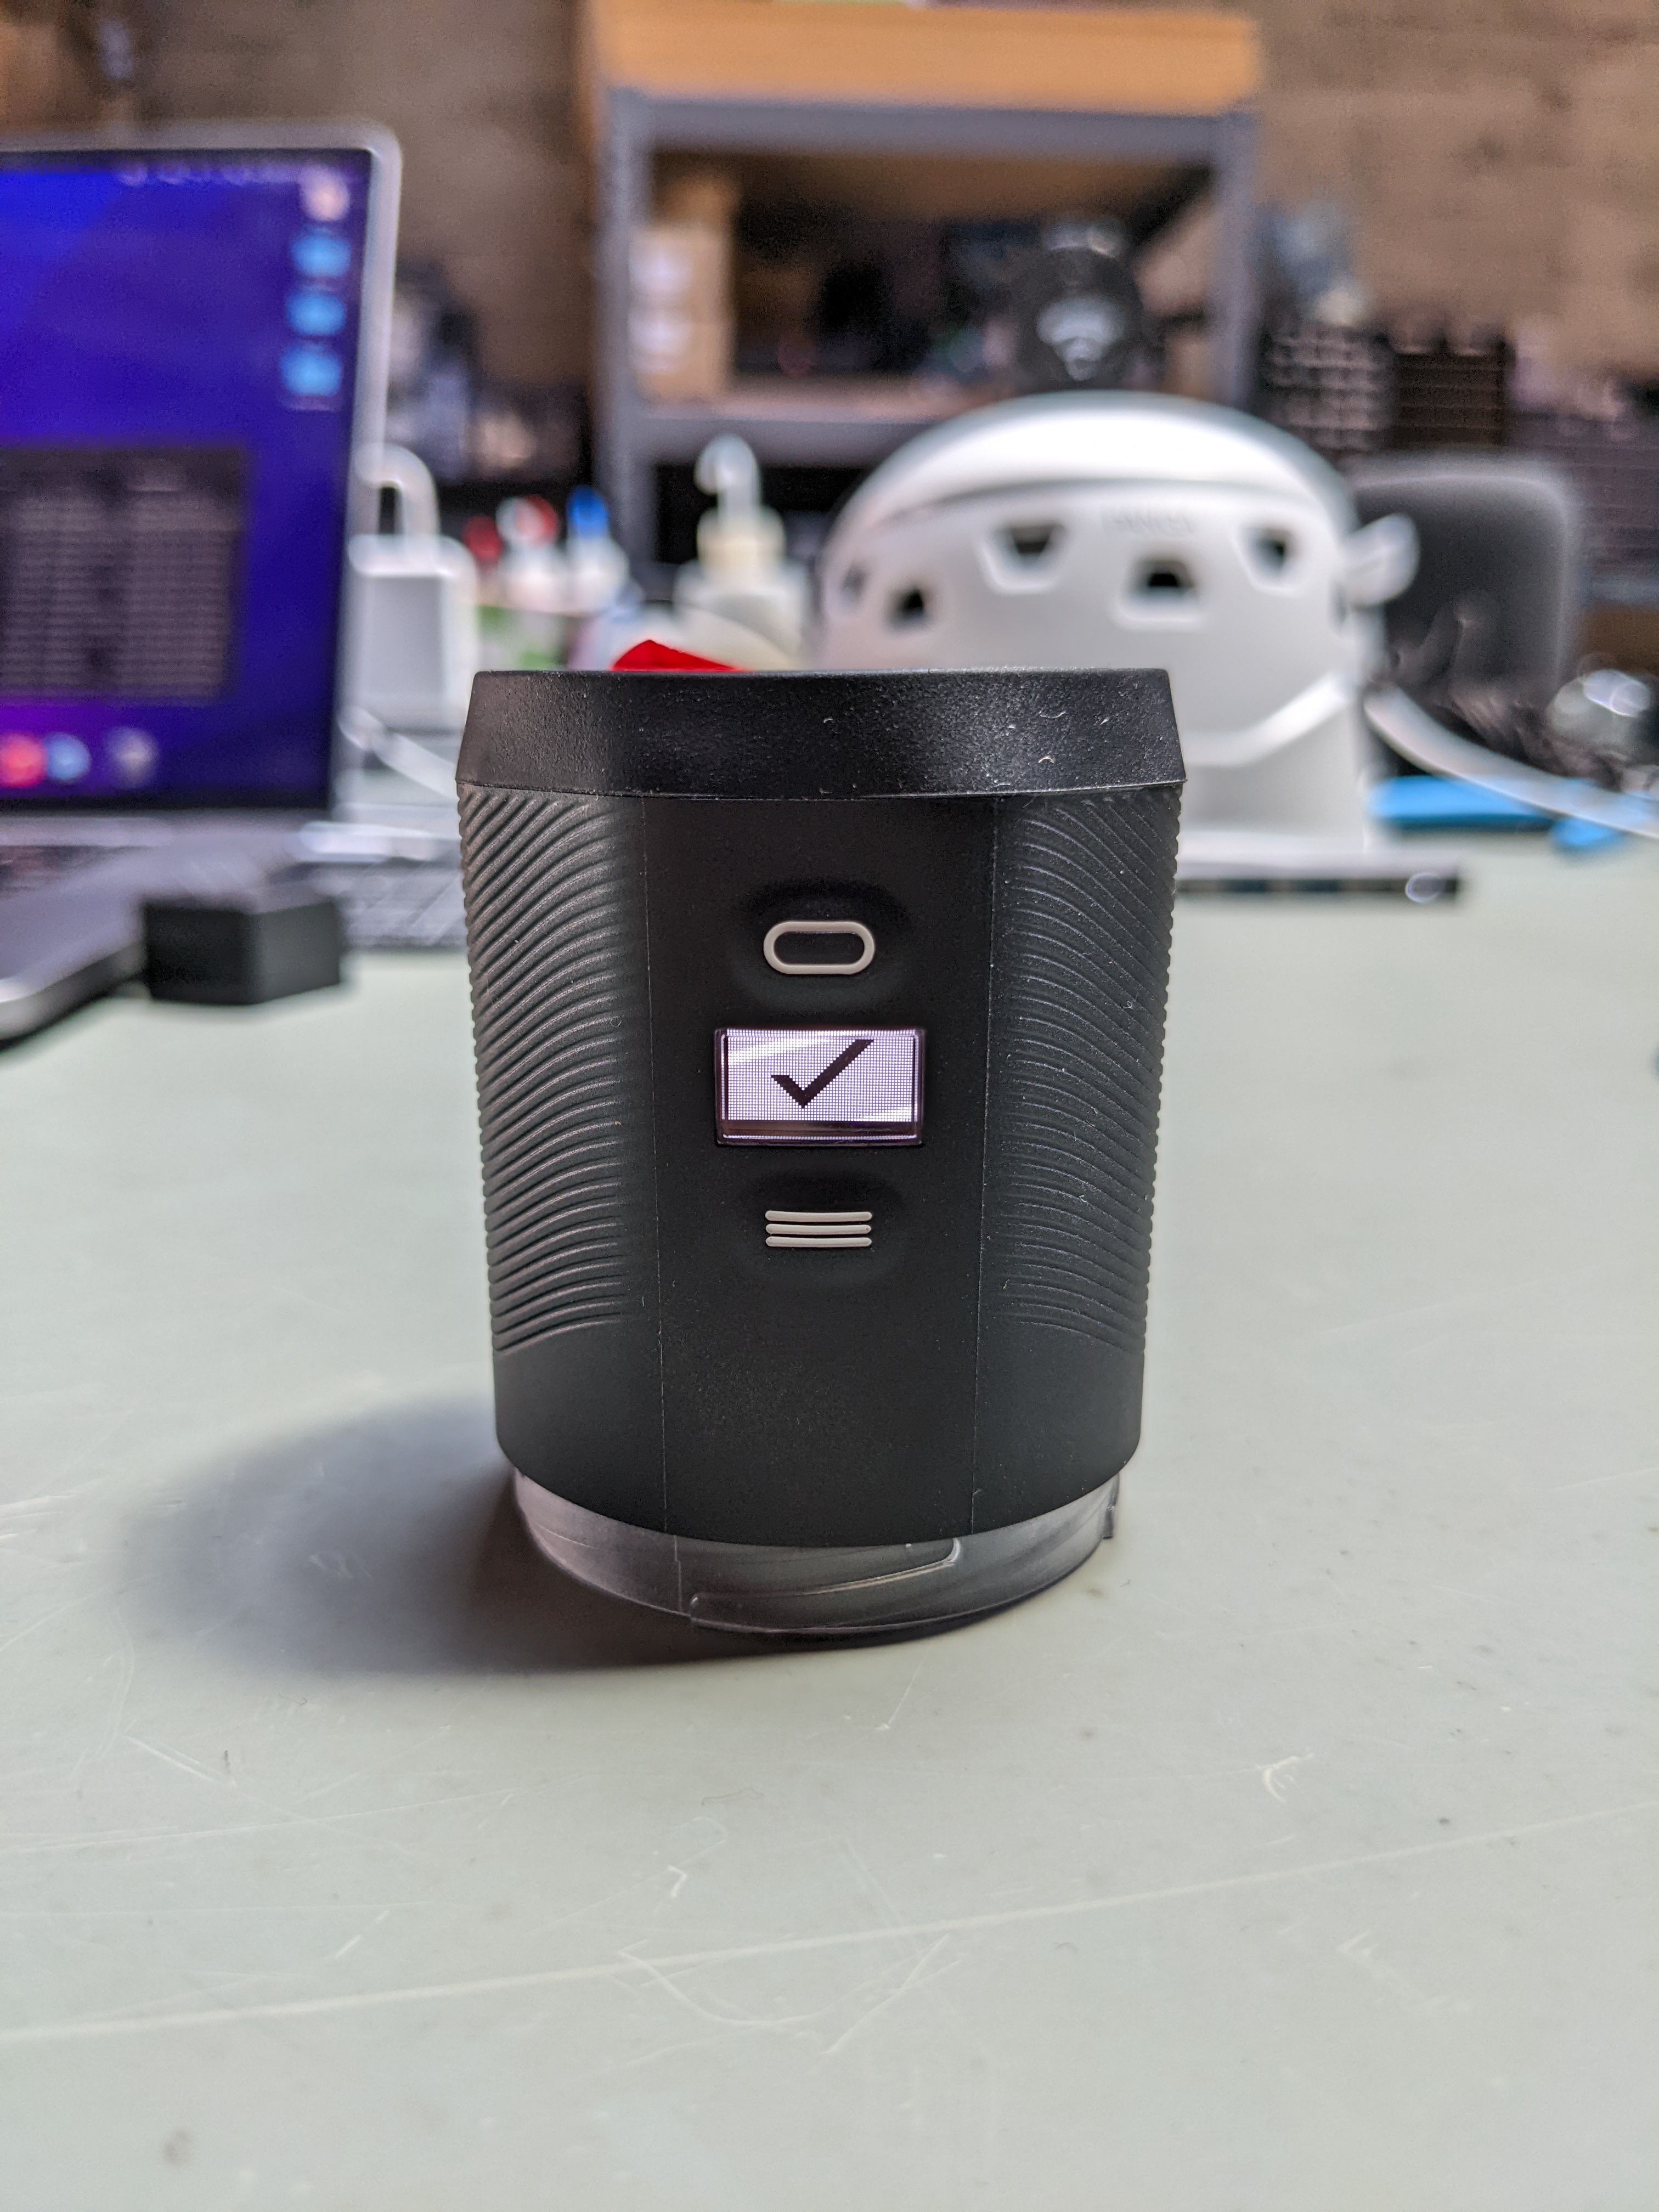
Press the top button once and you will get to this screen. The box will hover over the X but we want to select the check. Press the bottom button to change the hover between the X and the check.
When you are hovering over the check icon and there is a border around it, press the top button to format the SD card.
It will take a second or 2 for the card to be formatted. This icon will flash and disappear after the card has been successfully formatted. After the format is done it will bring you back to the main starting icon.